
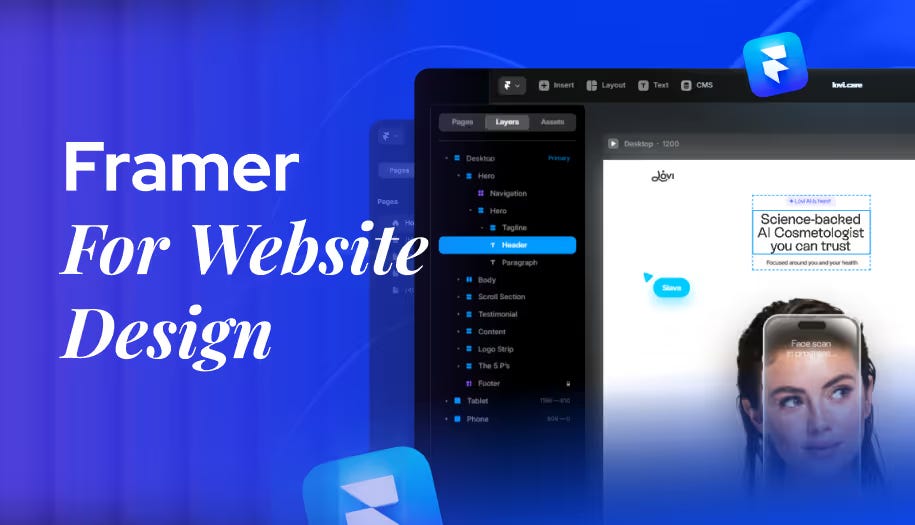
Framer for Web Design: A Balanced Guide for Designers

Whenever designers talk about modern tools, Framer for web design is often on the top list. It’s a no-code platform that allows creating websites, apps, and prototypes with ease.
With its AI integration, designing has become faster and more efficient, making it a popular choice for UX/UI designers.
What is Framer?
Framer is a versatile design and prototyping tool. You can build high-fidelity prototypes that mimic real websites or apps. Its drag-and-drop interface makes it beginner-friendly, while advanced users can add custom code for interactive features.
This mix of simplicity and power is why many agencies recommend it.
Key Features of Framer for Web Design
User-Friendly Interface: Easily design layouts with drag-and-drop tools.
AI-Powered Design: Quickly generate professional layouts.
Responsive & Fast: Ensures your site looks good on all devices.
Animations & Interactions: Add smooth transitions without coding.
Built-in CMS: Manage your website content efficiently.
With these features, designers can quickly create landing pages, portfolios, or startup websites. While Framer handles visual design well, it may not suit highly complex web applications that need extensive backend functionality.
How to Use Framer to Build a Website
Step 1: Know Your Purpose and Audience
Define why you’re creating the site and who will visit it. This helps you plan the structure and content effectively.
Step 2: Plan the Structure
List main pages like Home, About, Services, and Contact. Create a simple sitemap to ensure easy navigation.
Step 3: Design the Layout
Choose a template that fits your goals. Arrange headers, footers, and main content areas clearly. Keep it simple for a better user experience.
Step 4: Customize Visual Elements
Match colors, fonts, and images to your brand. Framer lets you adjust visuals easily and maintain consistency across all pages.
Step 5: Add Interactive Components
Include buttons, forms, and links. Test them to make sure everything works properly and engages users.
Step 6: Test Responsiveness
Ensure your site looks good on desktops, tablets, and mobile devices. Make adjustments if needed.
Step 7: Publish and Review
Once ready, publish your website. Test links, animations, and interactive elements. Collect feedback and refine the design.
Tips for Beginners
Learn Frames and Stacks to organize content efficiently.
Understand relative vs absolute positioning for precise layouts.
Use reusable components to save time and maintain consistency.
Optimize images and assets to improve speed.
Why Framer is Worth It
Framer is ideal for creating interactive, high-quality prototypes. It allows easy collaboration, reusable components, and smooth integration with tools like Figma. By using the Best framer agency, you can leverage expertise to get faster results without compromising quality.
Limitations to Keep in Mind
Framer may lack some advanced customization options, complex interactions, and custom font support. For highly complex websites, you might need additional tools or coding. Despite this, it’s still a powerful platform for many web design projects.
In short, Framer for web design is beginner-friendly, fast, and visually powerful. Whether you’re a designer or an agency, using Framer can speed up your workflow and produce professional results.
If you want expert support, partnering with the Best framer agency ensures top-quality design and development for your projects.